| UED2 Main |
| Deathmatch tutorial Part 5 - Bot pathing |
NOTE: You should have completed the four preceeding parts of this guide before you proceed with this part. In part five of this DM tutorial we will look at a fairly simple but very complex part of level building... Bot pathing. It is simple to do, but very hard to do perfect. To place a pathnode we need to open the actor browser. Expand the "NavigationPoint" title and select "PathNode". Close the actor browser, this is all we need. To place a pathnode you just press the right mousebutton and select "Add PathNode here". Place the first Pathnode infront of the lightsource in one of the small starting rooms. 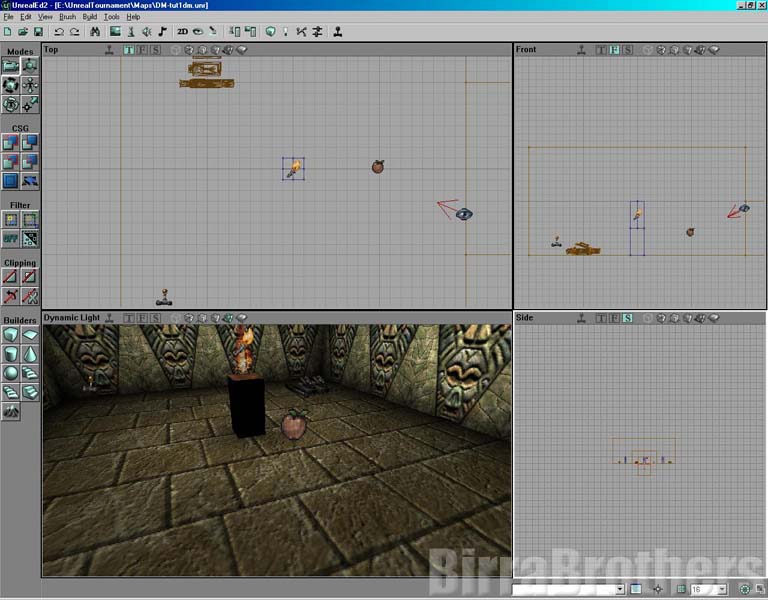 The pathnode itself should be an apple and at waist height above ground. We need alot more than one pathnode. Place one in the passageway just where it connects with the largest room. 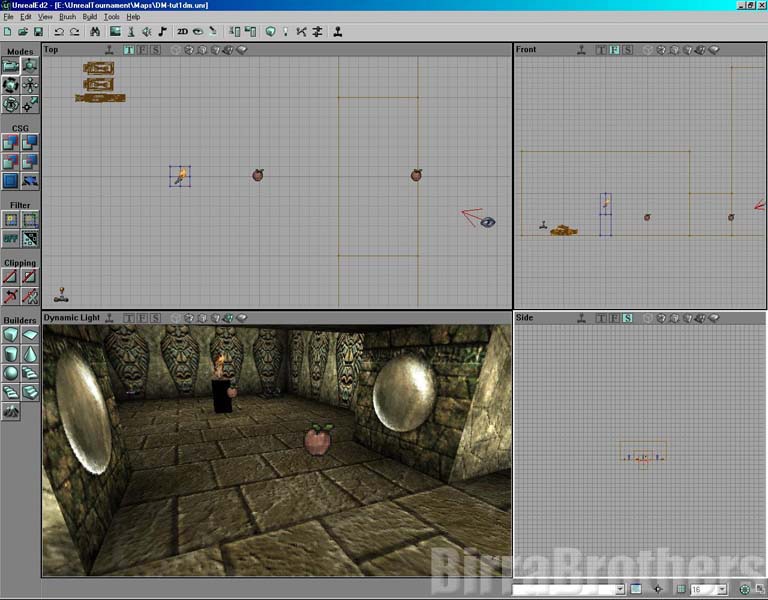 When done, do the same with the opposite side of the level. Place two pathnodes. Then place one pathnode close and on each side of the waterpit. 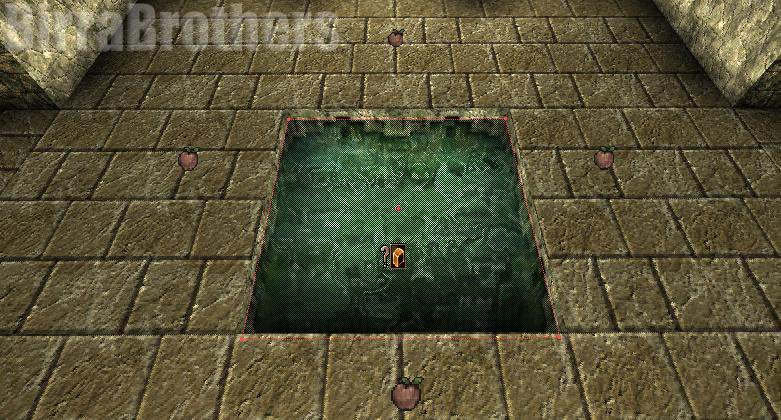 Also place two at the sides of the two lights on each side in the largest room. (Two pathnodes at the north wall and two at the south). 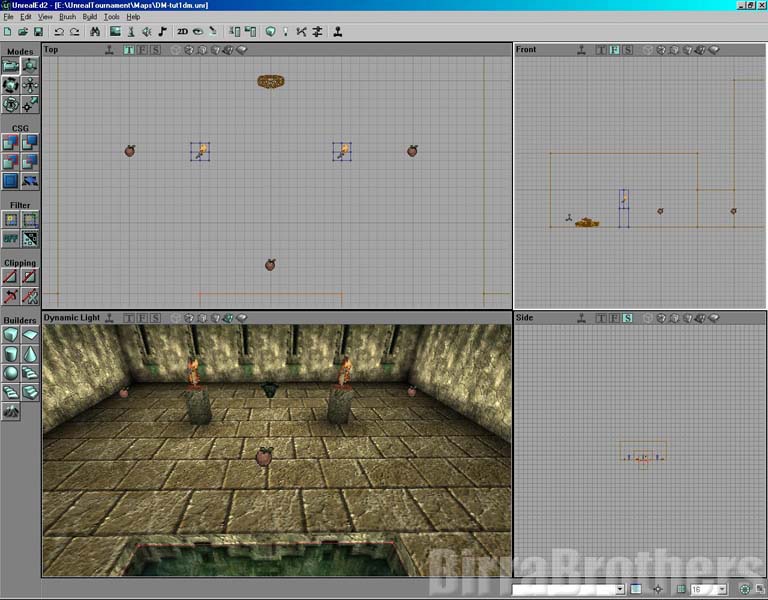 When done. Rebuild the level (make sure that "Define paths" is checked). To view the paths itself press the right mousebutton on the title inside the 3D view. Then select "View" and "Show paths". (Bot pathing details in other parts of this UED2 guide).  Save it and play it, but as a spectator with only one bot to see if the bot actually walks around the level. In the next part we will look at level properties. Adding music and a screenshot. Proceed to Part 6 >>> |